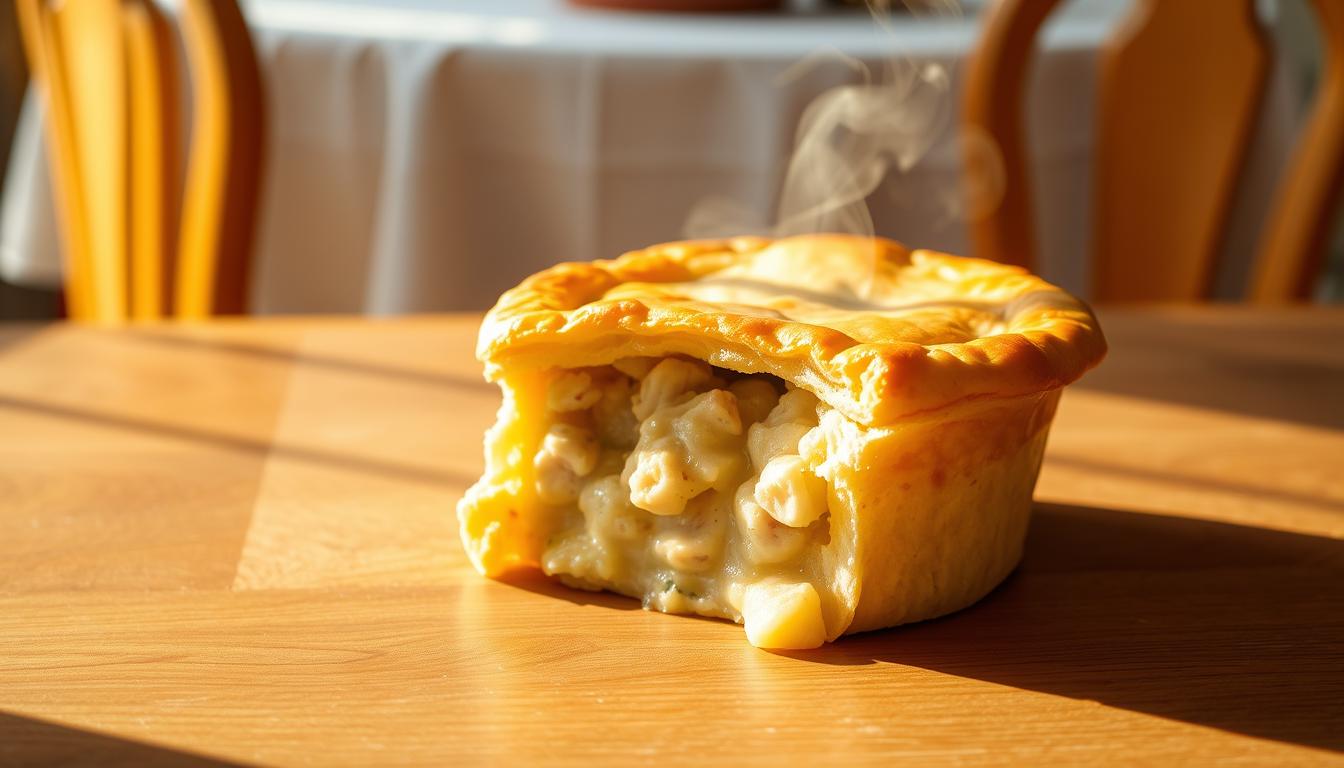
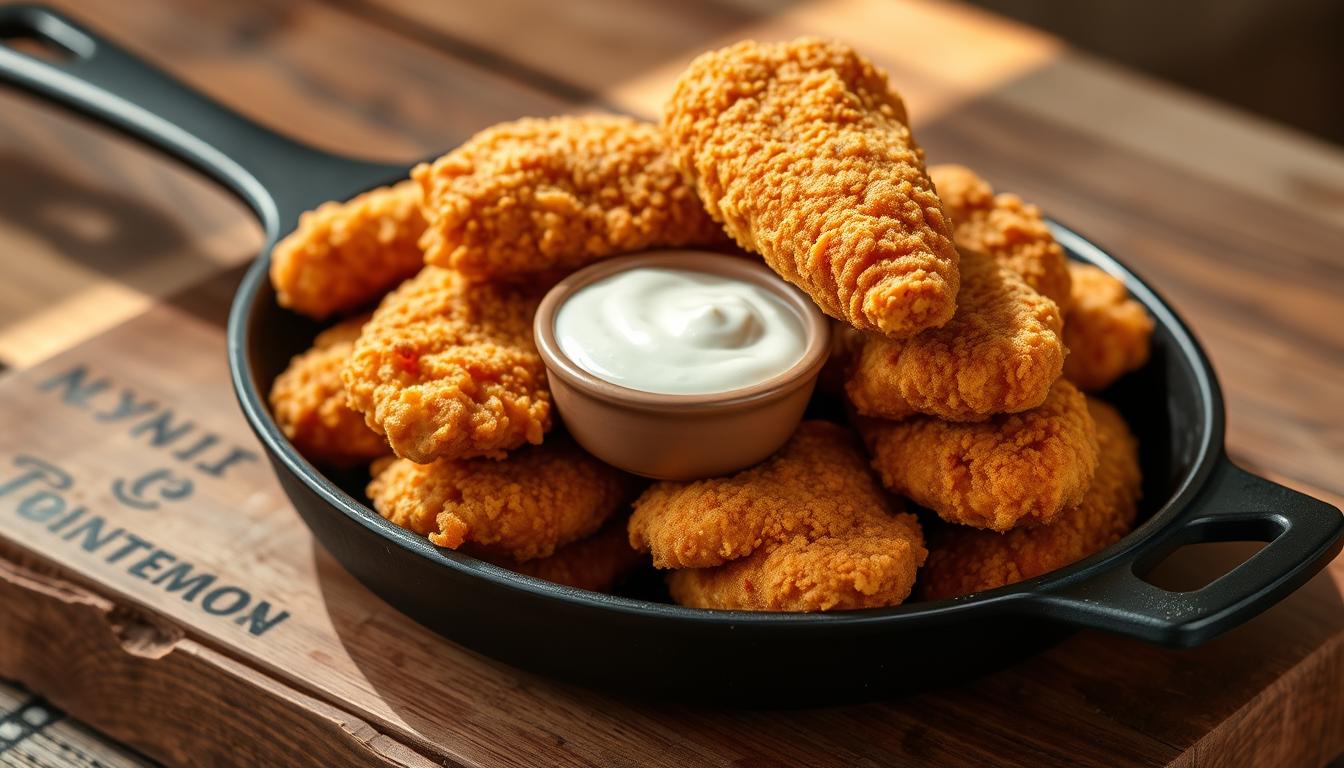
Fried chicken tenders
Want crispy, golden-brown fried chicken tenders that everyone will enjoy? It’s simpler than you might think. With the right tools and ingredients, you can make a meal that everyone will love.
Getting chicken tenders just right takes the right gear and a little know-how. Follow a few easy steps, and you’ll be making deliciously crispy fried chicken tenders every time.
Table of Contents
The Science Behind Perfect Fried Chicken Tenders
The secret to crispy chicken strips recipe is in the science of frying. To get the perfect fried chicken tender, you need to balance several factors. These factors are key to its crispiness, texture, and taste.
Why Crispiness Matters
Crispiness comes from the Maillard reaction. This is a chemical process that happens when food cooks. It turns the food golden-brown and crispy. This reaction is essential for the taste and texture of fried chicken tenders.

The Role of Temperature in Frying
Temperature control is crucial in frying. It determines how fast the chicken cooks and its final texture. The best frying temperature is between 350°F and 375°F.
Moisture Control for Optimal Results
Controlling moisture is also key. Too much moisture can stop the batter for chicken strips from sticking to the chicken. It’s important to dry and coat the chicken properly for crispy fried chicken tenders.
| Factor | Importance | Optimal Condition |
|---|---|---|
| Crispiness | High | Maillard reaction |
| Temperature | High | 350°F – 375°F |
| Moisture | High | Low |
By mastering these factors, you can make perfectly fried chicken tenders. Use a crispy chicken strips recipe and the right batter for chicken strips.
Essential Equipment for Frying Chicken Tenders
To get perfectly fried chicken tenders, you need the right tools. It’s not just about the recipe. The equipment you use matters a lot.
Choosing the Right Cooking Vessel
A good skillet is key for frying chicken tenders. Cast iron skillets are perfect because they heat well and keep heat. This helps make your chicken tenders crispy.

Temperature Control Tools
Keeping the oil at the right temperature is crucial. A thermometer helps you do this. It’s essential for frying chicken tenders just right.
Safety Equipment You Shouldn’t Skip
When frying, safety comes first. A splatter guard prevents accidents. It makes frying safer for you.
Selecting the Best Chicken for Tender Perfection
Choosing the right chicken is key to making perfect fried chicken tenders. The type of chicken you pick greatly affects the taste, texture, and quality of your dish.
Fresh vs. Frozen Chicken Options
You can use fresh or frozen chicken for fried chicken tenders. Fresh chicken is often preferred for its texture and flavor. But, frozen chicken can also be great if thawed correctly. Frozen chicken tenderloins are a convenient and affordable choice.
Chicken Breast vs. Tenderloins
Both chicken breasts and tenderloins work well for fried chicken tenders. Tenderloins are softer and have a better texture, making them a favorite. Chicken breasts can be used to make bigger tenders or strips.
Organic and Free-Range Considerations
Choosing organic or free-range chicken can improve your fried chicken tenders’ flavor and nutrition. These chickens are raised better and in kinder conditions. This results in a richer and more enjoyable taste.
By picking the right chicken, you can make your fried chicken tenders even better. Whether you’re making a classic fried dish or a baked chicken fingers recipe, the chicken’s quality is crucial.

Preparing Your Chicken Before Frying
To fry chicken tenders perfectly, start with the right preparation. This includes several key steps. They ensure your chicken cooks evenly and tastes amazing.
Proper Thawing Techniques
If your chicken tenders are frozen, thawing them correctly is key. You can thaw them in the fridge, in cold water, or in the microwave. Never thaw at room temperature to avoid bacterial growth.
Trimming and Sizing for Even Cooking
Trimming excess fat and cutting the chicken into the same sizes is important. It helps your tenders cook evenly. This is crucial for getting that perfect crispiness and juiciness.
Brining Methods for Juicier Tenders
Brining your chicken tenders can make them juicier. A simple brine of salt, sugar, and water can make a big difference. You can also add herbs and spices to the brine for extra flavor.
Marinating Options for Extra Flavor
Marinating your chicken tenders adds flavor. You can use buttermilk or mixtures of olive oil, garlic, and herbs. Let the chicken marinate for at least 30 minutes to soak up the flavors.
Creating the Perfect Batter for Chicken Strips
To get crispy fried chicken strips, start with the right batter. The batter makes your chicken strips crunchy and flavorful.
Wet Batter vs. Dry Breading
Choosing between a wet batter and dry breading depends on the texture you want. A wet batter makes the exterior crunchier. Dry breading gives a lighter coating.
Essential Ingredients for Flavor
Flour, cornstarch, and spices are key for flavor and crunch. Try different seasonings to make unique flavors.
Achieving the Ideal Consistency
The batter’s consistency is crucial. Too thick, it won’t stick; too thin, it lacks crunch. Aim for a balance that coats evenly.
Seasoning Profiles to Try
Try different seasonings like spicy, garlic parmesan, or classic salt and pepper. This adds variety to your crispy chicken strips.
By focusing on these elements, you can make a batter for deliciously crispy chicken strips every time.
Breading Techniques for Extra Crispy Chicken Tenders
To make your fried chicken tenders extra crispy, you need to learn different breading methods. The right breading can turn a good dish into a great one. It’s all about the crispy chicken strips recipe.
The Standard Flour-Egg-Breadcrumb Method
The flour-egg-breadcrumb method is a favorite in many homes. First, you coat the chicken in flour. Then, you dip it in eggs. Finally, you cover it in breadcrumbs. This method is a solid start for crispy fried chicken.
Double-Dipping for Maximum Crunch
Want your chicken even crunchier? Try double-dipping. This means doing the flour-egg-breadcrumb process twice. It makes your crispy chicken strips recipe even better.
Resting Your Breaded Tenders
After you’ve breaded your chicken, let it rest for a bit. This helps the coating stick better to the chicken. When you fry it, it will be even crisper.
Gluten-Free Breading Alternatives
If you need to avoid gluten, don’t worry. There are gluten-free breading alternatives out there. You can use gluten-free flours and breadcrumbs. This way, you can still enjoy crispy fried chicken tenders, even if you can’t have gluten.
Learning these breading techniques will help you make perfectly crispy fried chicken tenders every time. It’s all about practice and the right methods.
The Ultimate Fried Chicken Tenders Recipe
Now, let’s dive into the ultimate fried chicken tenders recipe. It’s a mix of crispiness and juiciness. Your fried chicken tenders will be perfect every time.
Ingredient List and Measurements
To start, you’ll need the following ingredients:
- 1 pound chicken breast or tenderloins
- 1 cup all-purpose flour
- 1 teaspoon paprika
- 1 teaspoon garlic powder
- 1 teaspoon onion powder
- 1 teaspoon salt
- 1/2 teaspoon black pepper
- 1/4 teaspoon cayenne pepper (optional)
- 2 eggs
- 1 cup panko breadcrumbs
- Vegetable oil for frying
Step-by-Step Preparation
Start by preparing your chicken: trim any excess fat and cut it into strips. Next, marinate the chicken strips in your choice of seasonings and buttermilk or a similar marinade for at least 30 minutes.
After marinating, dredge the chicken strips in flour, shaking off any excess. Then, dip them in beaten eggs, ensuring they’re fully coated. Finally, coat them in panko breadcrumbs mixed with your desired seasonings.
Cooking Process Walkthrough
Heat about 1/2-inch of vegetable oil in a large skillet over medium-high heat until it reaches 350°F. Carefully place the breaded chicken tenders in the hot oil, frying in batches if necessary to avoid overcrowding.
Fry the chicken tenders for about 5-7 minutes on each side, or until they reach a golden-brown color and an internal temperature of 165°F. Use a thermometer to check the oil temperature and adjust the heat as needed.
Visual Doneness Indicators
A perfectly cooked fried chicken tender should have a crispy, golden-brown exterior and juicy interior. Check for doneness by cutting into one of the tenders; it should be white and not pink inside. Additionally, the tenders should feel firm to the touch.
Choosing the Best Oil for Frying
Choosing the right oil is key to perfect fried chicken tenders. The oil you pick can change how your chicken tastes, feels, and looks.
High Smoke Point Oils
For frying chicken, use oils with a high smoke point. These oils can handle high temperatures without smoking. Peanut oil, avocado oil, and grapeseed oil are good choices.
Flavor Considerations
The oil you choose can also change the taste of your chicken. Oils like canola or grapeseed won’t mess with the chicken’s taste. But oils like peanut or coconut can add a special flavor.
Reusing Oil Safely
Reusing oil is safe if you do it right. Strain the oil after each use and store it in a cool, dark place. Check it before using it again. If it smells bad or looks dark, throw it away.
Oil Temperature Management
Keeping your oil at the right temperature is important. The best temperature is between 350°F and 375°F. Use a thermometer to check the temperature and adjust the heat as needed.
| Oil Type | Smoke Point (°F) | Flavor Profile |
|---|---|---|
| Peanut Oil | 450 | Mild, nutty |
| Avocado Oil | 520 | Mild, buttery |
| Grapeseed Oil | 420 | Neutral |
Troubleshooting Common Fried Chicken Tender Problems
Frying chicken tenders to perfection needs focus and a few tricks. You might face soggy breading, undercooked centers, or burnt exteriors. Knowing the causes and fixes can make your fried chicken better.
Dealing with Soggy Breading
Soggy breading is a letdown. Dry your chicken tenders well before breading. Try double-dipping in flour, egg, and breadcrumbs for crunch. Also, heat your oil right before frying.
Preventing Undercooked Centers
Undercooked centers happen when chicken isn’t heated enough. Cook your tenders to 165°F (74°C) to avoid this. Use a meat thermometer to check. If unsure, cut into a tender to see if it’s done.
Fixing Burnt Exteriors
Burnt exteriors come from cooking too long or too hot. Lower the heat or fry for less time to fix this.
Adjusting for Different Cooking Environments
Cooking in different places, like high altitudes, changes how your chicken turns out. At high altitudes, adjust your oil temperature and cooking time.
- Reduce oil temperature by 1-2°F (0.5-1°C) for every 1,000 feet of altitude.
- Increase cooking time slightly to ensure the chicken is fully cooked.
- Keep an eye on your oil temperature to maintain consistency.
Follow these tips to get crispy, tasty fried chicken tenders every time. For more on frying chicken tenders, see our ultimate fried chicken tenders recipe.
Healthier Alternatives to Deep Frying
It’s easy to make fried chicken tenders healthier with new cooking methods. You can still enjoy this favorite dish without losing nutrition. Let’s look at some ways to make your fried chicken tenders better for you.
Air Fryer Chicken Tenders
Air fryers change how we enjoy fried foods. They use little to no oil, giving you a crispy outside and soft inside without the guilt. Season your chicken, put it in the air fryer basket, and cook at the right temperature until it’s crispy.
Oven-Baked Chicken Fingers Recipe
Oven-baking is a healthier choice than deep-frying. Use a light coating of breadcrumbs or panko and some olive oil for a crispy outside. Bake your chicken tenders at 400°F (200°C) for 15-20 minutes, or until they’re cooked through and golden.
Reducing Oil Absorption Techniques
If you still love deep-fried chicken tenders, there are ways to make them healthier. Use a light batter or breading to reduce oil absorption. Also, chilling your breaded chicken tenders before frying helps the coating stick better, reducing oil absorption.
Comparing Nutritional Profiles
Looking at the nutritional profiles of deep-fried, air-fried, and oven-baked chicken tenders shows big differences. Air-fried and oven-baked options have fewer calories and less fat. For example, oven-baked chicken tenders might have about 200 calories and 3g of fat. Deep-fried tenders can have over 500 calories and 20g of fat.
By choosing healthier cooking methods, you can enjoy your favorite fried chicken tenders while making better choices for your health.
Delicious Dipping Sauces and Serving Ideas
Make your fried chicken tenders even better with tasty dipping sauces and creative ways to serve them. The right sides can make your meal more fun and fit your taste.
Classic Sauce Recipes
Classic sauces like honey mustard and ranch dressing are always a favorite. You can make them at home with just a few ingredients. For honey mustard, mix equal parts honey and mustard, then add a pinch of salt and pepper. Ranch dressing is made by combining mayonnaise, sour cream, dried herbs, and a squeeze of lemon juice.
International Flavor Inspirations
Try something new with international flavors. Korean Gochujang sauce adds a spicy kick, while Japanese Teriyaki sauce is sweet and savory. Exploring global flavors can make your fried chicken tenders more exciting.
Quick Homemade Options
It’s easy to make your own dipping sauces at home. Try a simple BBQ sauce with ketchup, vinegar, and spices. Or, mix mayonnaise with Sriracha sauce for a spicy mayo.
Perfect Side Dish Pairings
Pair your fried chicken tenders with sides like coleslaw, baked beans, or crispy fries. These pairings make your meal complete and more enjoyable.
Conclusion: Enjoying Your Perfectly Fried Chicken Tenders
Now you know how to make delicious fried chicken tenders. They will be crispy outside and juicy inside. The secret is in the details, like choosing the right chicken and getting the fry just right.
Follow these tips to make fried chicken tenders that are always perfect. Try different seasonings and sauces to find your favorite. Your cooking will impress everyone, whether it’s just for you or a big group.
With your new skills, it’s time to get creative. Enjoy the tasty results of your hard work. Happy cooking!